Steering Cross Joint: Symptoms, Diagnosis, and Replacement
A steering cross joint — also called a steering universal joint (U-joint) or steering shaft cross joint — is a mechanical coupling that connects two steering shaft segments at an angle, transmitting rotational torque from the steering wheel to the steering gear or rack while allowing misalignment between shafts. Without it, the steering column could not route around engine bay obstacles or follow the geometry changes required by modern vehicle packaging.
When a steering cross joint wears out, the most immediate symptom is play or looseness in the steering wheel — often described as a clunk when changing direction. A failed steering cross joint is a safety-critical fault and should be diagnosed and replaced promptly. This guide covers how the joint works, how to identify failure, how to replace it, and what to look for when buying a replacement.
What a Steering Cross Joint Does and How It Works
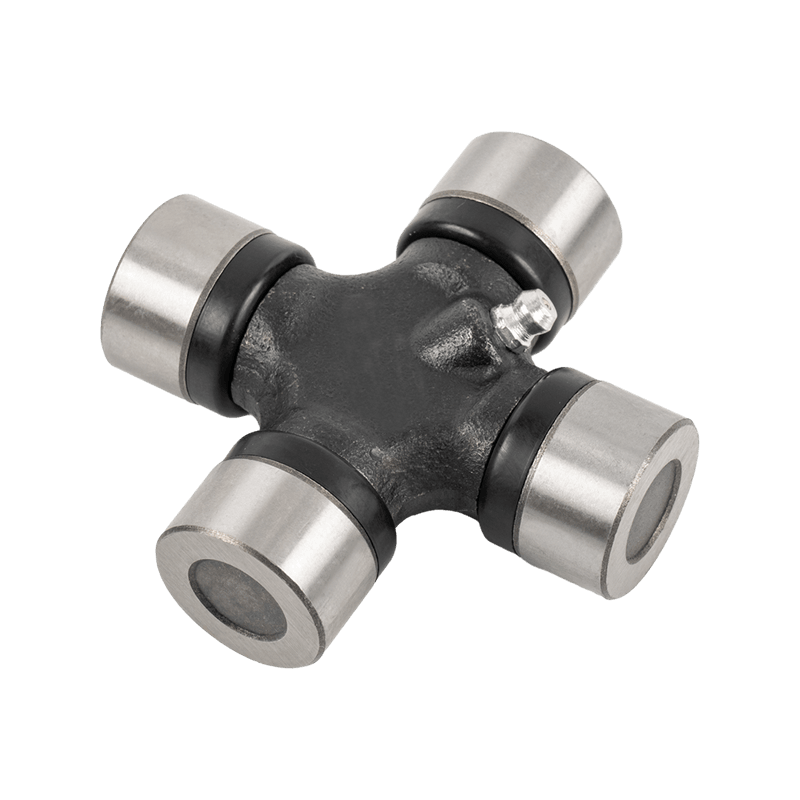
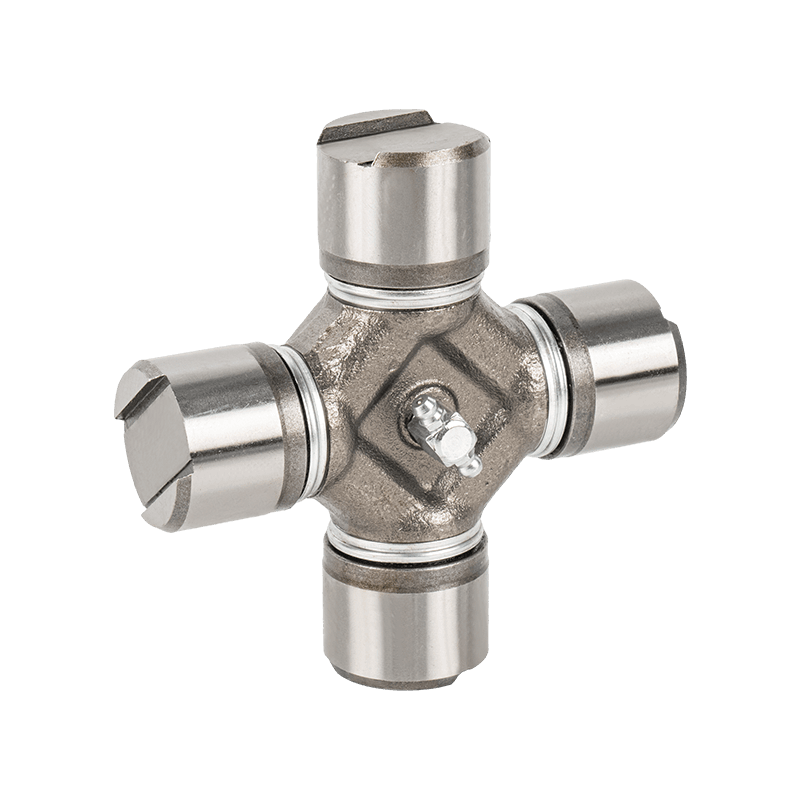
The steering column in most vehicles is not a single straight shaft running from the steering wheel to the steering rack. It must bend around the firewall, the dashboard structure, and the engine — often at angles between 15° and 35° per joint. The steering cross joint accomplishes this using a classic Hooke's universal joint design: a four-pointed cross-shaped trunnion (the "spider") supported by four needle-roller bearing cups, two on each axis, pressed into yoke forks at both ends of the joint.
When you rotate the steering wheel, torque travels down the upper steering shaft, through the cross joint's spider and bearing cups, and into the lower shaft segment — even though the two shafts are not collinear. Most vehicles have two steering cross joints in the intermediate shaft assembly: one near the steering column and one near the steering rack input shaft, which together compensate for combined angular offset while minimizing velocity variation in the torque output.
Velocity Variation and the Double-Joint Solution
A single Hooke's joint introduces a cyclic speed variation — the output shaft alternately speeds up and slows down twice per revolution when operating at an angle. This is called the "second-order velocity error." Using two joints in the intermediate shaft with equal angles and correct phasing cancels this variation out, delivering smooth, consistent steering feel. This is why steering intermediate shafts are always designed with both joints phased carefully at the factory.
Common Symptoms of a Worn or Failing Steering Cross Joint
Steering cross joints fail gradually as the needle roller bearings wear, the bearing cups corrode, or the grease inside dries out. Recognizing the symptoms early prevents a manageable repair from becoming a safety emergency.
- Clunking or knocking when turning — the most common symptom; a distinct knock felt and heard as the steering wheel is turned through center, especially when reversing or changing direction
- Steering wheel play or looseness — excessive free movement before the wheels begin to respond; more than about 1–2 inches of play at the rim of a standard steering wheel is cause for concern
- Steering vibration or shudder — a wobble felt through the steering wheel, particularly at low speeds or when parking; caused by uneven bearing wear creating velocity variation in the shaft
- Binding or stiff spot in steering — a joint that has seized partially creates a tight spot rather than play; steering may require extra effort at a specific point in the turn
- Squeaking under load — dry needle bearings without sufficient lubrication squeak as they rotate; this often precedes full bearing failure
- Visible rust or corrosion on the joint body — surface rust on the yoke is cosmetic, but rust on the bearing cup caps or signs of moisture ingress indicate bearing contamination
These symptoms overlap with other steering and suspension faults — worn tie rod ends, loose steering rack mounts, and worn column bearings can produce similar clunks and play. Isolating the fault to the steering cross joint requires a hands-on inspection with the vehicle on the ground and an assistant turning the wheel while you feel for movement at each joint.
How to Diagnose a Steering Cross Joint
A systematic inspection procedure avoids misdiagnosis and unnecessary parts replacement. Follow these steps:
- Road test first — drive at low speed and note exactly when the clunk or looseness occurs: turning from straight ahead, at full lock, over bumps, or under braking. This helps localize whether the fault is in the steering shaft, rack, or suspension.
- Static wheel shake test — with the wheels on the ground and the engine off, grip the steering wheel at the 3 and 9 o'clock positions and try to shake it back and forth. Movement without immediate wheel response indicates play somewhere in the steering system.
- Visual inspection under the hood — locate the intermediate steering shaft and both cross joints. Look for visible rust on the bearing cup caps, cracks in the yoke arms, or missing snap rings. Any grease nipple present should be checked and greased if dry.
- Hand-feel test on the joint — with a helper turning the steering wheel slowly, hold each joint firmly between two hands. A worn joint transmits a perceptible shudder or knock through your hands as the bearing cups rock in their sockets. A good joint transmits rotation smoothly with no sensation of movement between the yoke and spider.
- Check for radial play — grip the joint and try to move the two yoke ends radially (side to side relative to the shaft axis). Any detectable radial play in the needle bearing cups confirms wear; there should be zero perceptible movement in this direction on a serviceable joint.
Steering Cross Joint Types and Construction
Not all steering cross joints are the same. They vary in design, size, greasability, and the type of yoke connection used. Understanding the differences matters when selecting a replacement.
| Type | Greasable | Connection Style | Typical Application | Service Life |
|---|---|---|---|---|
| Sealed non-greasable | No | Snap ring / press fit | Most modern passenger cars | 80,000–150,000 miles |
| Greasable (Zerk fitting) | Yes | Snap ring / bolt flange | Trucks, SUVs, performance | 100,000–200,000 miles (if greased) |
| Solid (welded shaft) | No | Integrated yoke, not removable | OEM shafts; replaced as assembly | Varies; replaced with full shaft |
| Needle bearing with flange bolt | Some | Bolted flange yoke | Heavy trucks, commercial vehicles | 150,000+ miles with maintenance |
| Double Cardan (CV-style) | Sometimes | Two Hooke's joints + centering ball | High-angle applications, off-road | 80,000–120,000 miles |
Yoke Connection Types
The yoke — the forked end that holds the bearing cups — connects to the steering shaft in one of three ways depending on the vehicle:
- Pinch bolt / clamp yoke — a single bolt compresses the split yoke around a splined shaft; very common on modern cars; the bolt must be torqued to spec (typically 15–25 Nm) and never reused after removal
- Splined slip yoke — the yoke slides onto a splined shaft and is retained by a snap ring; allows axial movement to accommodate suspension travel
- Welded or press-fit yoke — permanently attached; the entire shaft assembly must be replaced if this type of joint fails
How to Replace a Steering Cross Joint
Steering cross joint replacement is a DIY-accessible job on most vehicles with basic tools, but requires careful attention to reassembly phasing and torque values. The general procedure below applies to the majority of passenger cars and light trucks.
Tools Required
- Socket set and ratchet (metric or SAE depending on vehicle)
- Torque wrench (capable of 15–50 Nm range)
- Snap ring pliers (internal and external)
- Bench vise and U-joint press (or a socket and hammer for pressing cups)
- Penetrating oil (for stubborn pinch bolts)
- Marker or paint pen (for phasing marks)
Replacement Procedure
- Disconnect the battery and lock the steering wheel straight ahead — some vehicles have clockspring or airbag circuits that can be damaged if the column rotates during service.
- Mark the shaft phasing before disassembly — use a paint pen to mark the relationship between the upper and lower yokes on the intermediate shaft. Incorrect reassembly phasing reintroduces velocity variation and causes steering shimmy.
- Remove the pinch bolts at both ends of the intermediate shaft — these are typically 10mm or 12mm hex head bolts. Apply penetrating oil if corroded and allow 15 minutes to soak. Do not reuse pinch bolts — replace them.
- Slide the intermediate shaft off the splines — most shafts have a slip joint that allows the shaft to compress slightly for removal. Note the direction of reassembly.
- Remove the snap rings from the bearing cups — use snap ring pliers to remove the C-clips or circlips retaining each bearing cup in the yoke bores.
- Press out the old bearing cups and spider — support the yoke in a vise and use a U-joint press or socket-and-hammer method to drive each bearing cup out. A socket slightly smaller than the cup diameter works as a driver; a socket larger than the yoke bore catches the cup as it exits.
- Clean the yoke bores thoroughly — remove all debris, old grease, and rust. Inspect the bores for scoring; minor scoring is acceptable but heavily grooved bores require yoke replacement.
- Install the new spider and press in the new bearing cups — start all four cups by hand to ensure they are square, then press each fully home until the snap ring groove is exposed. Install all snap rings and confirm each seats fully in its groove.
- Reinstall the intermediate shaft in the correct phase — align your paint marks, slide the shaft onto the splines, and torque new pinch bolts to the manufacturer specification (most commonly 20–25 Nm).
- Reconnect the battery and road test — turn lock to lock slowly to confirm smooth, quiet operation with no binding or clunk before driving at speed.
What to Look for When Buying a Replacement Steering Cross Joint
Replacement steering cross joints range from OEM-equivalent parts from Tier 1 suppliers to cheap aftermarket items that fail within months. These criteria separate quality replacements from poor ones:
OEM vs. Aftermarket
Original Equipment Manufacturer (OEM) joints from the vehicle manufacturer or their Tier 1 steering system supplier (such as Mando, JTEKT, NSK, or TRW/ZF) guarantee dimensional accuracy and material specification. Reputable aftermarket brands that supply to the same quality standard include Moog, ACDelco, Beck/Arnley, and Dorman. Avoid joints with no brand marking or country of origin on the packaging — these are frequently undersized or use inferior needle roller hardness grades.
Key Specifications to Verify
- Spider cross diameter — must match OEM exactly; even 0.5mm undersizing creates play in the bearing cups
- Bearing cup outside diameter and depth — determines fit in the yoke bores; non-matching cups will not seat correctly
- Maximum operating angle — confirm the replacement joint is rated for at least the installed angle; most steering joints operate at 15°–30°; the joint should be rated for at least 35° continuous operation
- Greasable vs. sealed — if replacing a greasable joint, choose a greasable replacement; downgrading to a sealed unit is acceptable in many cases, but a greasable joint in a service-accessible location offers a longer potential service life
- Seal type — needle bearing seals should be double-lipped nitrile rubber or polyurethane; single-lip or felt seals allow contamination ingress much faster
Complete Assembly vs. Spider Kit
You can buy either a complete intermediate shaft assembly (with joints pre-installed and pre-phased) or a bare spider/bearing kit to press into your existing yokes. A complete replacement shaft assembly costs more but eliminates all risk of incorrect phasing or bearing cup seating errors, and is the better choice for anyone not experienced with U-joint pressing. Spider kits are appropriate for experienced mechanics and vehicles where the yokes are in good condition.
Steering Cross Joint Maintenance and Service Intervals
Most sealed modern steering cross joints are maintenance-free by design — there is no service interval other than inspection. However, greasable joints require periodic lubrication, and all joints benefit from regular inspection regardless of type.
Greasing Intervals for Greasable Joints
If your vehicle has greasable steering cross joints (identified by a Zerk grease fitting on the spider), the recommended interval is every 30,000 miles or 2 years, whichever comes first — or at every other oil change in harsh environments (off-road, frequent water crossing, extreme cold). Use a lithium complex or moly-fortified chassis grease rated NLGI Grade 2. Pump grease slowly until it begins to appear at the seal edges — overpressuring can blow out the needle bearing seals, causing rapid contamination.
Inspection Checklist
- Inspect visually at every major service (every 12 months or 15,000 miles) for rust, cracked yoke arms, missing snap rings, or seal damage
- Check for radial play by hand if any steering looseness complaint arises
- Inspect pinch bolt torque if the vehicle has been over a severe bump or kerb impact — impacts can loosen pinch bolts
- On vehicles operating in salt-belt regions, apply a corrosion inhibitor spray to the joint exterior annually to slow rust progression on the yoke arms and snap ring grooves
Steering Cross Joint Replacement Cost
Replacement cost varies widely depending on whether you replace the joint alone or the full intermediate shaft assembly, and whether the work is done DIY or at a shop.
| Repair Scope | Parts Cost (DIY) | Labor (Shop) | Total at Shop |
|---|---|---|---|
| Spider / bearing kit only | $10–$40 | $80–$150 | $90–$190 |
| Complete intermediate shaft (aftermarket) | $60–$150 | $80–$150 | $140–$300 |
| Complete intermediate shaft (OEM) | $150–$400 | $80–$150 | $230–$550 |
| Heavy truck / commercial vehicle | $80–$250 | $150–$300 | $230–$550 |
Labor time for a standard passenger car intermediate shaft replacement is typically 0.5–1.5 hours. Access difficulty varies — some vehicles require removing a heat shield, wheel arch liner, or lower dash trim to reach the shaft, which adds time. Always ask for a written estimate that specifies whether the shop is replacing the full shaft assembly or just the joint spider.
Frequently Asked Questions About Steering Cross Joints
Is it safe to drive with a worn steering cross joint?
A mildly worn joint with slight play may be drivable short-term, but a significantly worn or seized steering cross joint is unsafe and should not be driven. In a worst-case failure, the joint can fracture or lock, resulting in complete or sudden loss of steering control. If the steering wheel play exceeds 2 inches or you feel a sharp bind at any point in the turn, park the vehicle until the joint is replaced.
How many steering cross joints does a typical car have?
Most passenger cars have two steering cross joints — one at each end of the intermediate steering shaft. Some vehicles with complex routing or longer steering columns have three. Trucks, buses, and vehicles with two-piece intermediate shafts may have three or four joints in the steering drivetrain.
Can a steering cross joint be repaired rather than replaced?
Not meaningfully. Worn needle bearings and pitted spider trunnions cannot be refurbished to a safe standard. The only repair is replacement of the spider and bearing kit, or the full shaft assembly. Attempting to pack more grease into a worn sealed joint may temporarily quiet noise but does not restore lost dimensional clearance.
Does replacing a steering cross joint require wheel alignment?
No — intermediate shaft replacement does not affect wheel alignment geometry. Alignment is set at the tie rods and steering rack, which are not disturbed during this repair. However, if the vehicle was pulled to one side due to binding in the old joint, a post-repair road test to confirm straight tracking is recommended before concluding the job.